
Our Location
fes, morocco
Sidi Harazem 30070
Learn how to install zellige tiles step by step: preparing the wall, sorting the tiles, setting, sealing and grouting handmade Moroccan zellige.
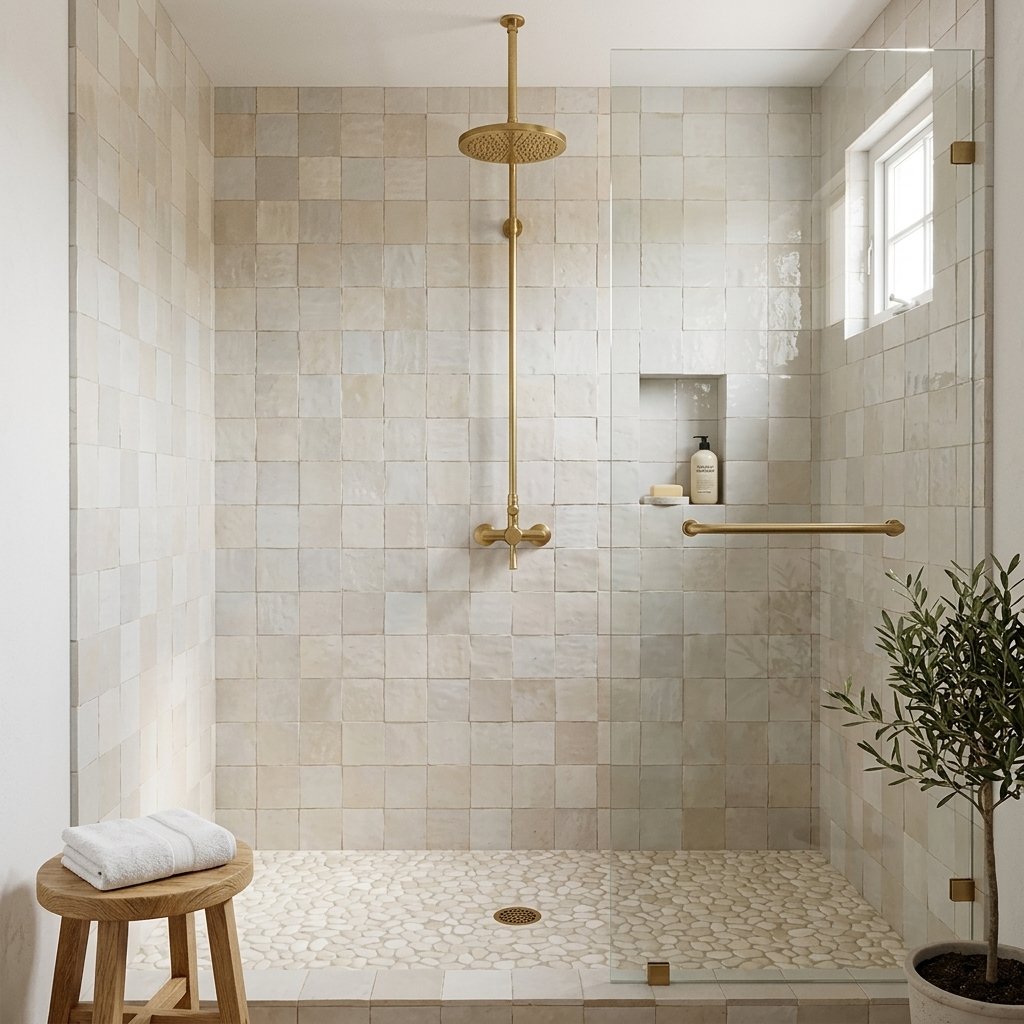
Installing zellige is a little different from installing standard ceramic tile. Because every tile is handmade, sizes and thickness vary slightly, and the glaze needs protection during grouting. This step-by-step guide explains how to install zellige tiles so you get a beautiful, long-lasting result. If you are not experienced with tiling, we always recommend working with a professional installer.
Zellige tiles (plus 10–15% extra), a suitable thin-set tile adhesive, a notched trowel, a level, a tile cutter or wet saw with a diamond blade, a penetrating stone/tile sealer, non-sanded grout for tight joints, sponges and clean buckets.
The wall must be clean, dry, flat and solid. In wet areas such as showers, install a proper waterproofing membrane first. Any unevenness in the wall will show more with handmade tiles, so take time to get the substrate right.
Open several boxes at once and mix the tiles. Set aside pieces with large chips for cuts and edges. Blending tiles from different boxes spreads the natural color variation evenly, which is the key to a beautiful zellige wall.
Find the center of the wall and dry-lay a row to see how the cuts will fall. Use a level to draw a straight starting line. Zellige is usually installed with very tight joints (around 1–2 mm), so traditional spacers are often not needed.
Apply adhesive to the wall with a notched trowel and back-butter each tile, because the backs of handmade tiles are not perfectly flat. Press the tiles into place and adjust them by eye. Small differences in height are normal and part of the charm. Clean any adhesive from the face of the tiles straight away.
Once the adhesive has cured, apply a penetrating sealer to the tiles. The pits and crackle in the glaze can absorb grout pigment, so sealing first makes cleanup much easier and protects the finish.
Work the grout into the joints with a rubber float, holding it at an angle. Remove excess with a damp sponge, rinsing often. Avoid strong acids and abrasive pads, which can damage the glaze.
After the grout has fully cured, apply a final coat of sealer over the tiles and grout. This helps protect against stains and moisture, especially on backsplashes and in showers.
Clean zellige with warm water and a pH-neutral cleaner. Over time, small changes in the glaze can appear; this natural patina is part of the beauty of a handmade tile. Reseal as recommended by your sealer manufacturer.
Ready to start your project? Browse our zellige collection or contact us for help calculating how many tiles you need.

